Getting started
This chapter is a step-by-step manual for beginners with Live Objects giving instructions covering the basic use cases of the service. Here is a small process to begining with Live objects and help you to easy building a use case and end-to-end test.
-
If you have device you can start to use it.
-
If you do not have a device, browse the instructions in this guide to build a usage that uses only simulators to replace a device. You can use your own device simulator and use MQTT or COAP protocol to connect your virtual device to Live Objects.
Requirements : the data message sent by device (or simulator) must respect the Live Objects data model.
@startuml

skinparam partition {
  FontSize 15
  FontName Helvetica
  BorderColor Gray
}

skinparam activity {
  BackgroundColor<> #ffd200
  BackgroundColor<> #4bb5e6
}

start

partition "**Create an account in Live Objects**" {
  :Fill the sign-in form\nwith your credentials; <>
  :Connect to your dashboard; <>
}

partition "**API key creation**" {
  :Create an API key; <>
  :Save and keep your secret\nin a safe location; <>
}

partition "**Connect device**" {

  if (**Hardware device?**) then (**No**)

    partition "//Simulating MQTT device//" {
      :Download your MQTT client tool; <>
      :Connect your MQTT simulation tool; <>
      :Check your device status; <>
    }

  else (**Yes**)

    partition "//Use your hardware:\nLoRa®, MQTT or SMS device//" {
      :Register your device; <>
      :Connect your device; <>
      :Check your device status; <>
    }

  endif
}

partition "**Data publish**" {
  :Set your data stream; <>
  :Publish data message; <>
}

partition "**Data explore**" {

  partition "Selecting your data source" {

    if (Choose your option) then (Using portal)

      :Connect to your dashboard; <>
      :Use API to explore data; <>
      :Select device data stream; <>

    else (Using API request)

      :Select device data stream; <>
      :Send API request; <>

    endif

  }

  :Retrieve data; <>
  :Explore data; <>
}

:Manage data; <>

stop

@enduml
Log in
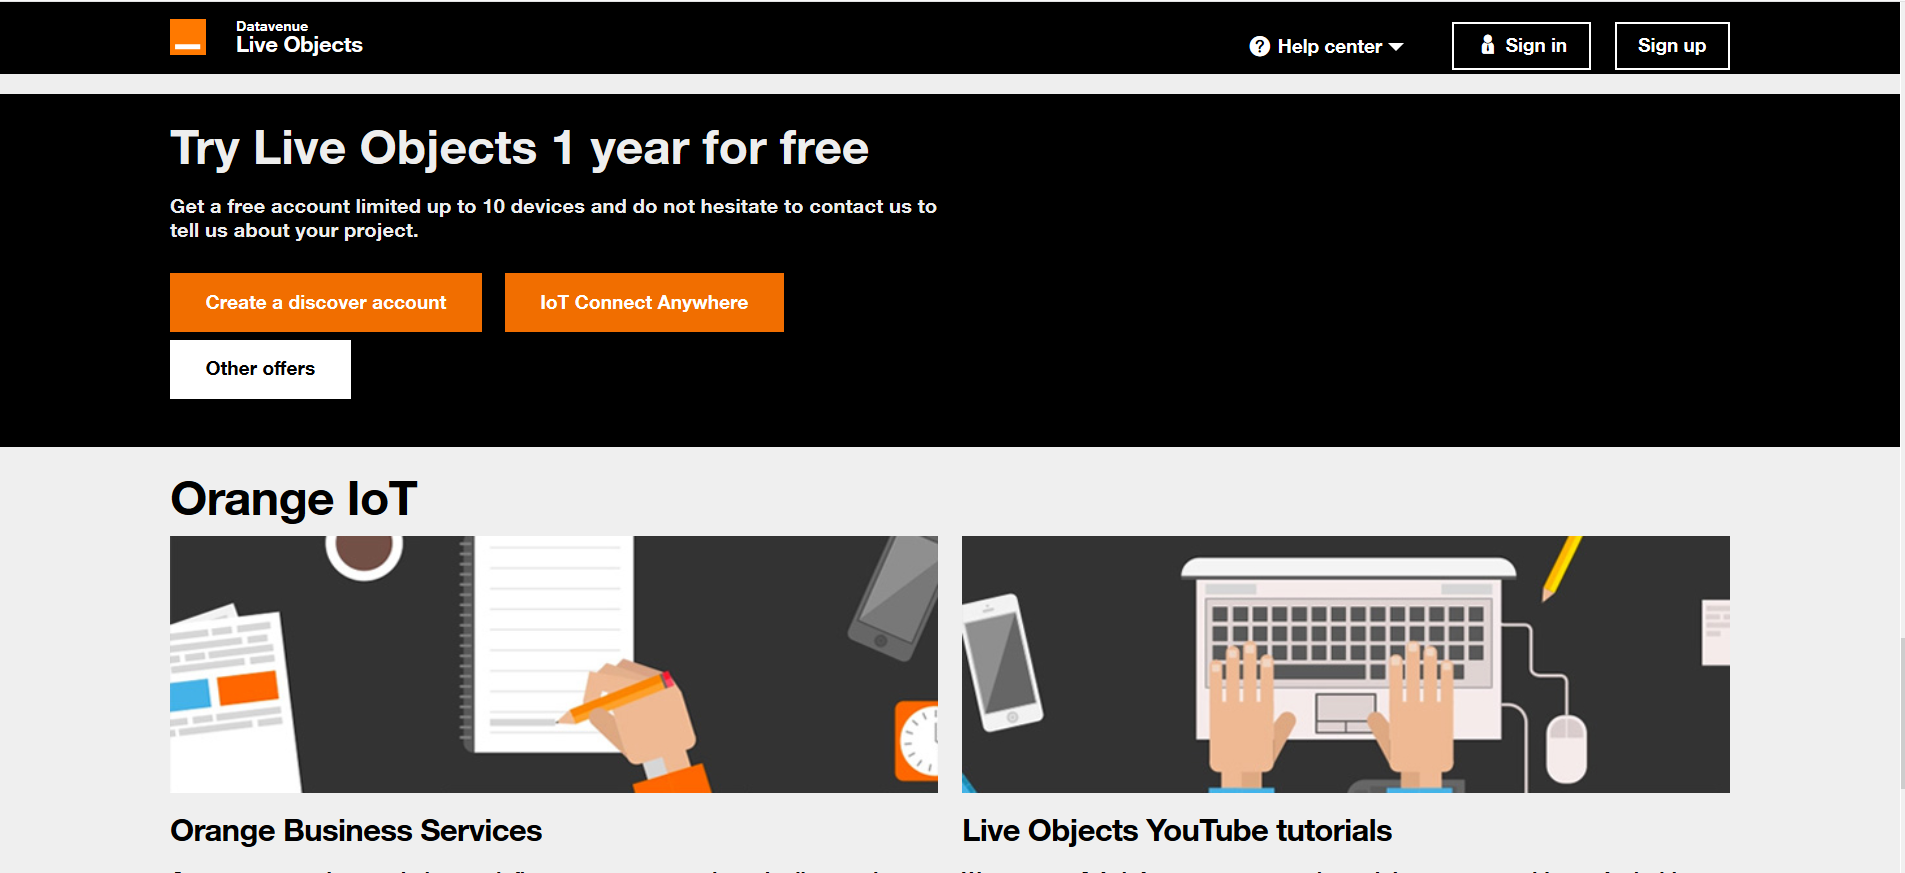
To log in to Live Objects web portal, connect to https://liveobjects.orange-business.com using your web-browser:
-
Fill the Sign in form with your credentials:
-
your email,
-
the password set during the activation phase,
-
-
then click on the Sign in button.
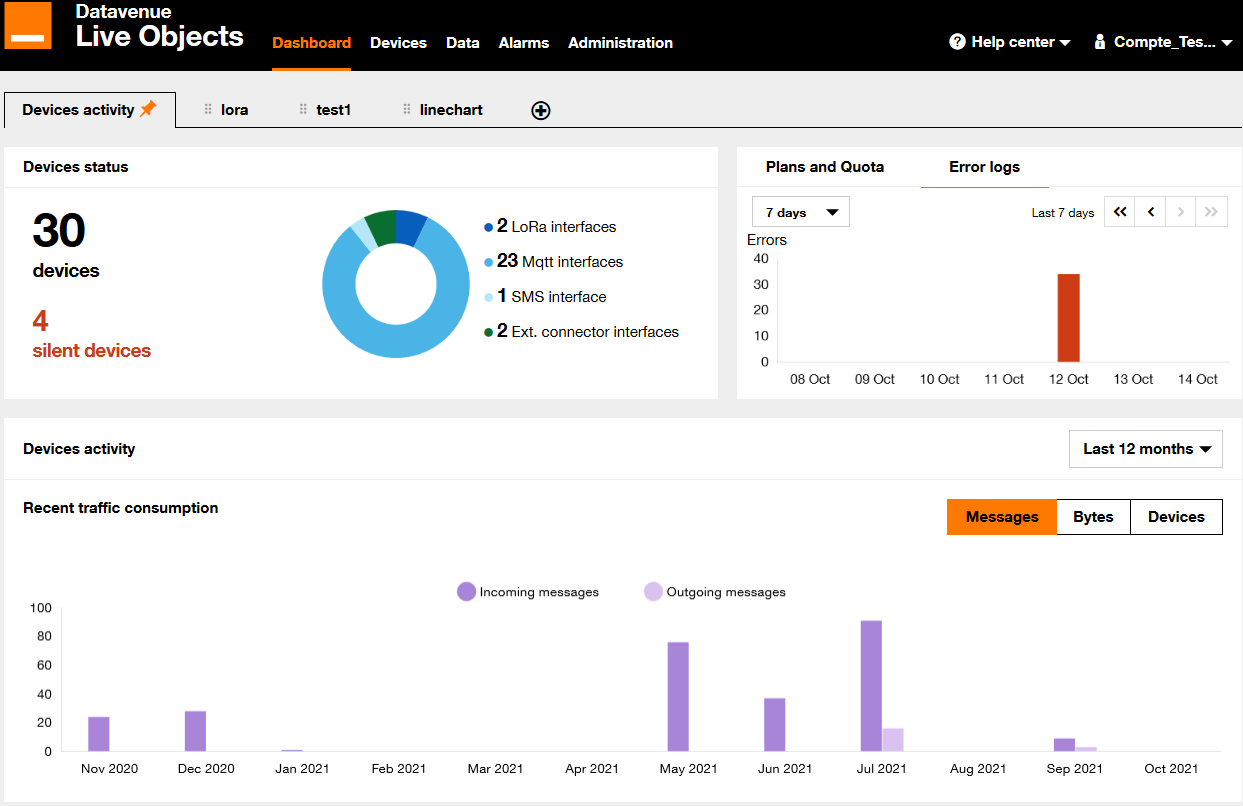
You are redirected to your “Dashboard” page:
Connect and test your LoRa® device
LoRa® devices need to be registered on Live Objects to send messages.
| To quick register your LoRa® device, use the Live Objects portal, https://liveobjects.orange-business.com. |
Register your device
To register a LoRa® device, go to the Devices menu, select LoRa® in the list and click on Add device.
In the form, select the profile that corresponds to your device. If you do not know, select Generic_classA_RX2SF12. Enter your device’s DevEUI, AppEUI and AppKey. Depending on the LoRa® device you are using, these parameters are pre-configured and they should come with the device, or you can configure the device resource with your own parameters. Then click on Register.
You can see your device in the Devices menu.
Connect your LoRa® device
When the device is registered then joins LoRa® network, it will automatically connect to Live Objects. The device is now ready to send uplink data and beginning to publish the data messages.
| When you prefer using an API, see Register a LoRa® device |
Simulating an MQTT device
To make a device or an application communicate with Live Objects using MQTT, you will need an API key.
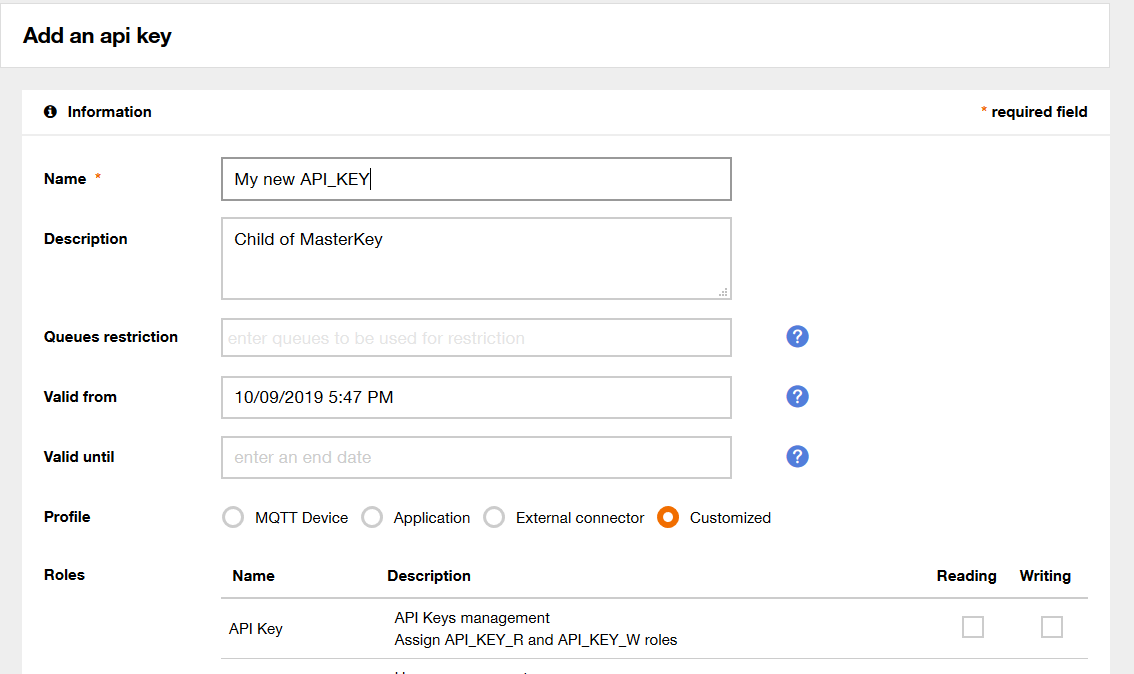
Create an API key
To create an API key, go to the Configuration menu, click on Api keys in the left menu and create a new API key. Select at least the role "DEVICE_ACCESS".
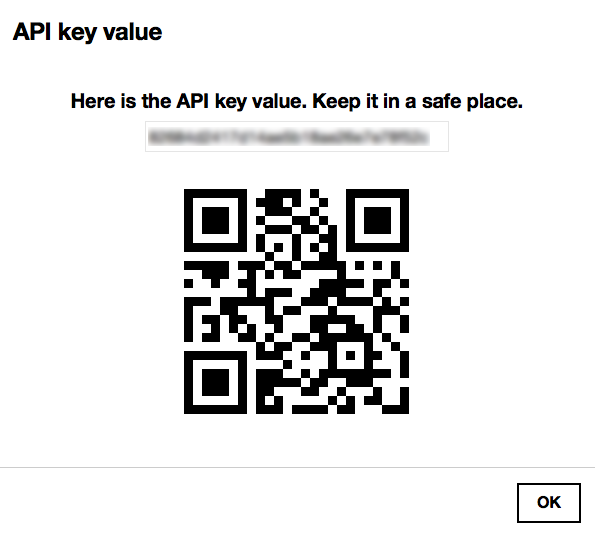
As a security measure, you can not retrieve the API key again after you have closed the API key creation results page. So, note it down to work with the MQTT client, during the scope of this getting started.
Download your simulator tool
It is up to you to choose your favorite MQTT client or library. We will use here MQTT.fx. This client is available on Win/MacOSX/Linux and is free (until now). Download and install the last version of MQTT.fx.
Connect your simulator
We will start by creating a new Connection profile and configure it based on the device mode set up.
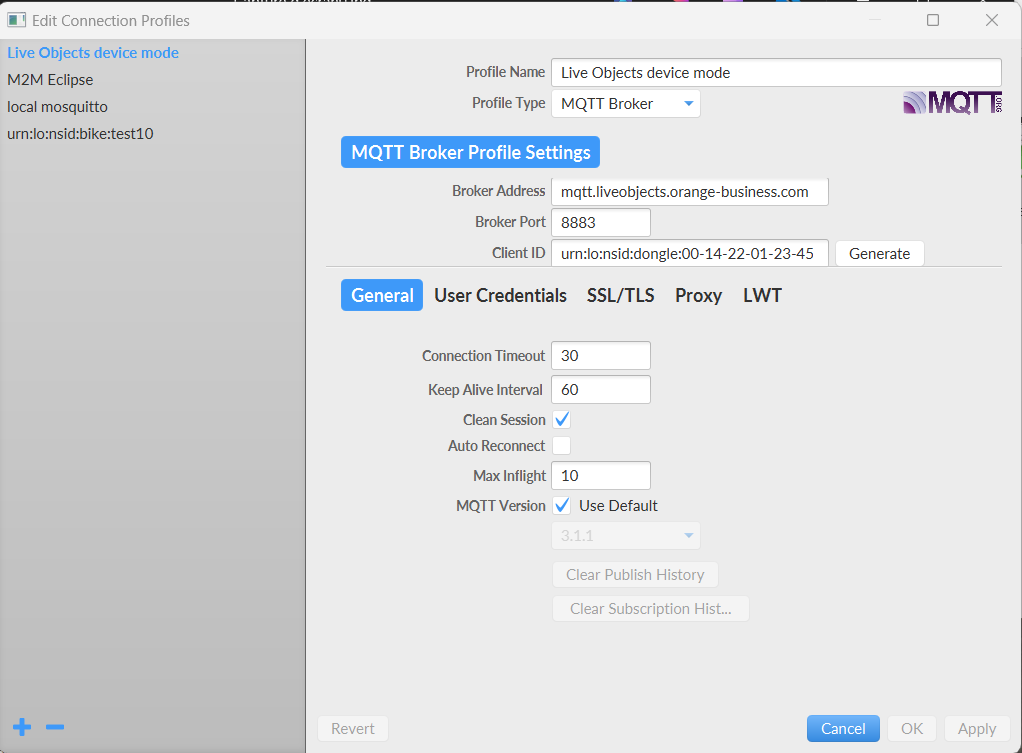
General panel:
You will configure here the endpoints of Live Objects including authentication information. In this panel, you can set :
-
Broker Address with mqtt.liveobjects.orange-business.com
-
Broker Port with 8883
-
Client ID with urn:lo:nsid:dongle:00-14-22-01-23-45 (as an example), More information about Client Id format in the devices section
-
Keep Alive Interval with 30 seconds
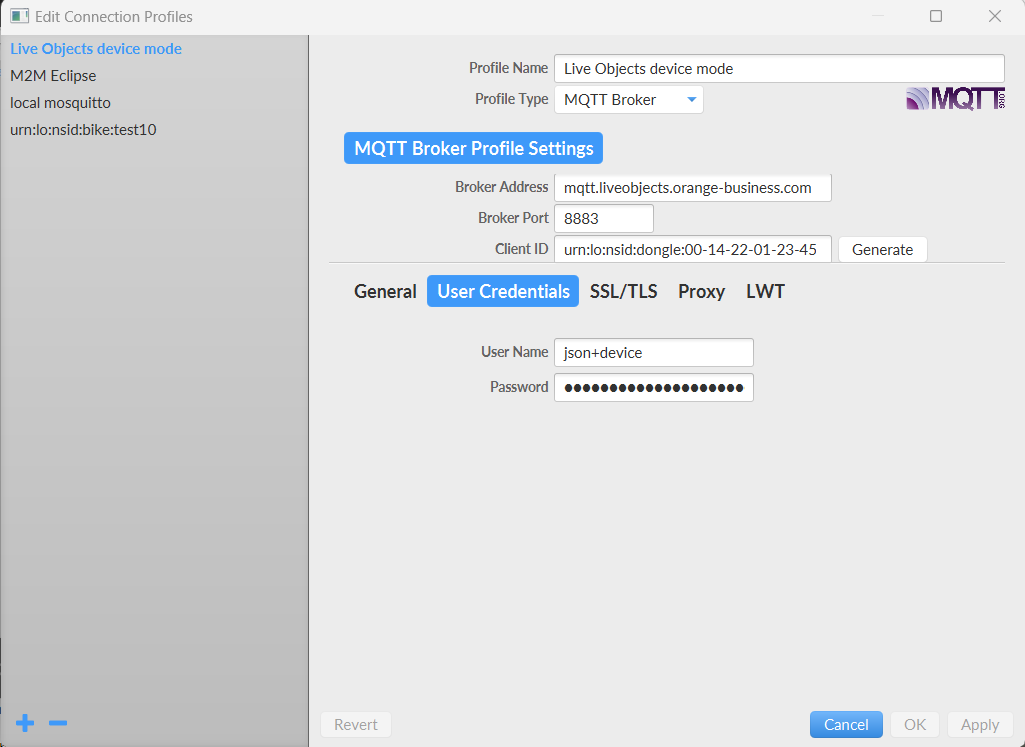
Credentials panel:
-
username: json+device : for device mode MQTT connection
-
password: the API key that you just created with the "DEVICE_ACCESS" role
Verify status
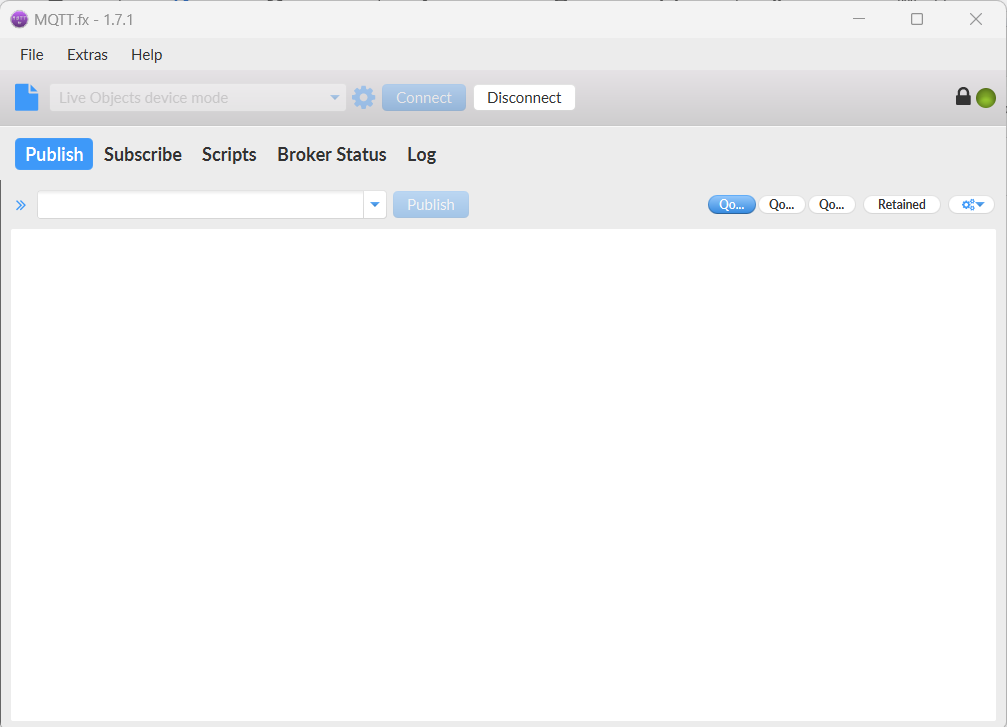
We can simulate a device connection to Live Objects with MQTT.fx client by clicking on Connect button of MQTT.fx client.
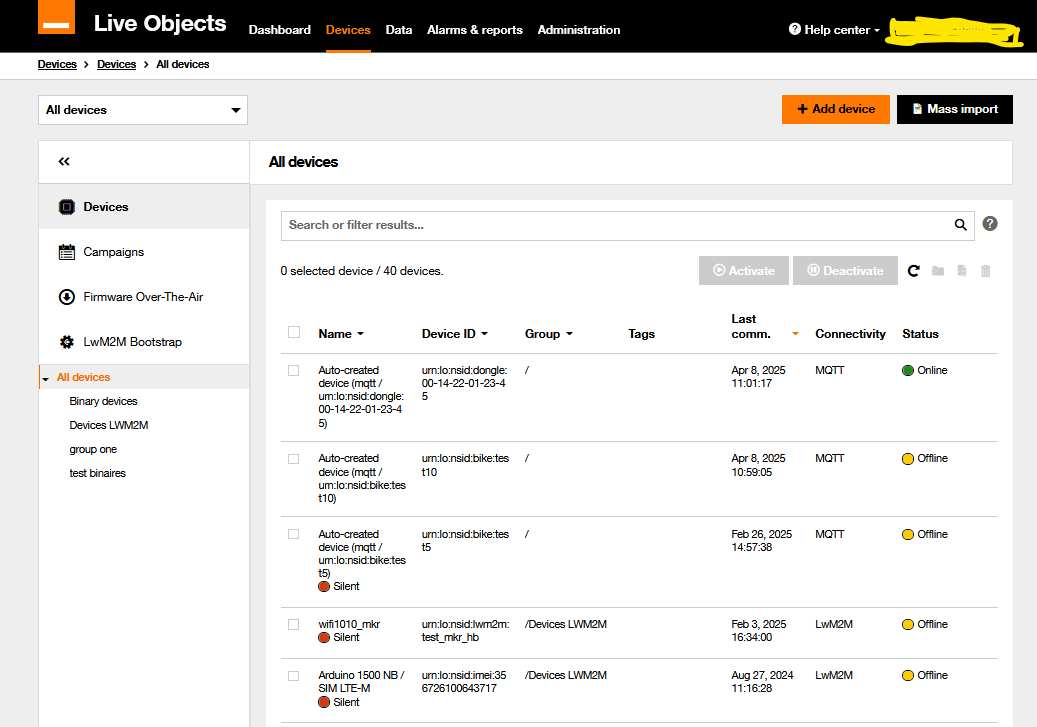
In Live Objects portal, go to the Devices page, the connected device has "green" status.
Publishing data messages
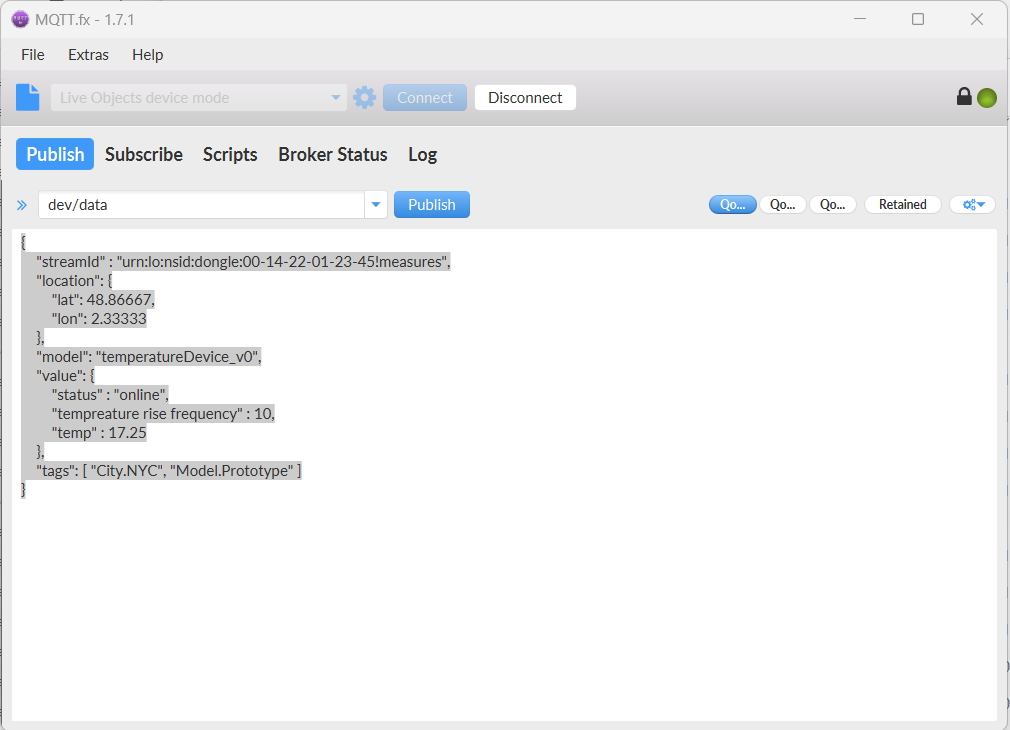
We will use MQTT.fx client with device mode to send data message as a device would do.
Data message must be published on this topic: dev/data.
Message:
{
    "streamId" : "urn:lo:nsid:dongle:00-14-22-01-23-45!measures",
    "location": {
        "lat": 48.86667,
        "lon": 2.33333
    },
    "model": "temperatureDevice_v0",
    "value": {
        "status" : "online",
        "tempreature rise frequency" : 10,
        "temp" : 17.25
    },
    "tags": [ "City.NYC", "Model.Prototype" ]
}
With:
-
streamId: the streamId of the message, the message will be forwarded to a topic containing the streamId so an application connected to Live Objects can retrieve messages
-
timestamp: the timestamp of the message, this field is optional, if not set by the device, Live Objects will set it with the time of arrival,
-
location: the location of the device, this field is optional,
-
model: the model of data contained in the v field, (more about data model)
-
value: the value, this is a free field to store device specific data such as the device sensor values,
-
tags: a list of tags, this field is optional.
Device Management basics
Sending a command to a LoRa® device
Messages sent by LoRa® devices to Live Objects are called uplinks. Messages sent by Live Objects to LoRa® devices are called downlinks.
To send a command, go to Devices then select your LoRa® device in the list and go to Downlink tab. Click on Add command, enter a port number between 1 and 223 and enter data in hexadecimal, 0A30F5 for example. The downlink will be sent to your device after the next uplink.
Sending a command to an MQTT device
You must first subscribe to the topic waiting for command "dev/cmd". (Subscribe tab of MQTT.fx)
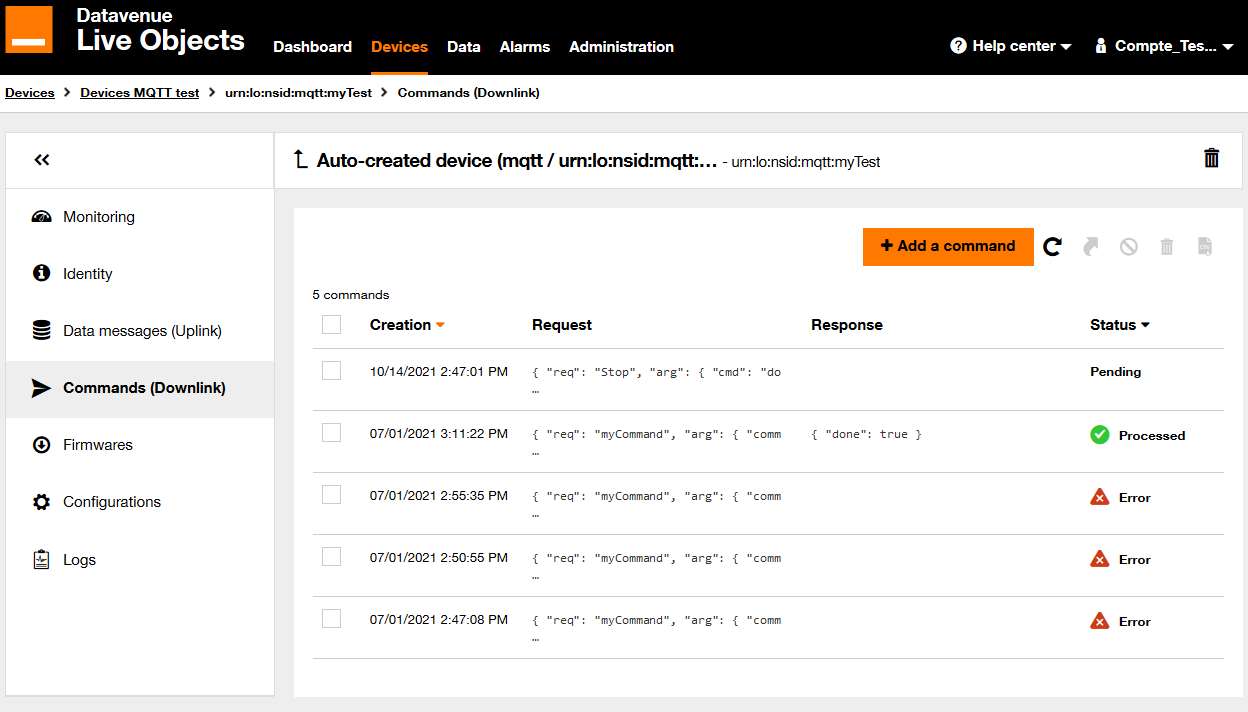
Go to Devices then select your device in the list and go to Commands tab.
Click on add command then fill the event field with "reboot" then click on Register. The command will appear in MQTT.fx client subscribe tab.
command request
 {
    "req":"reboot",
    "arg":{},
    "cid":94514847
  }
A response can be sent to acknowledge the command received.
To send this response, you can publish a message to this topic "dev/cmd/res". (correlation identifier) must be set with the value received previously.
command response
 {
   "res": {
      "done": true
   },
   "cid": 94514847
 }
Once published, the status of the command will change to "processed" in the portal commands history tab.
| A correlation ID uniquely identifies each ‘request’, or the equivalent and used in your intercation with Live Objects API. |
Accessing the stored data
There are several ways to access you device’s data:
-
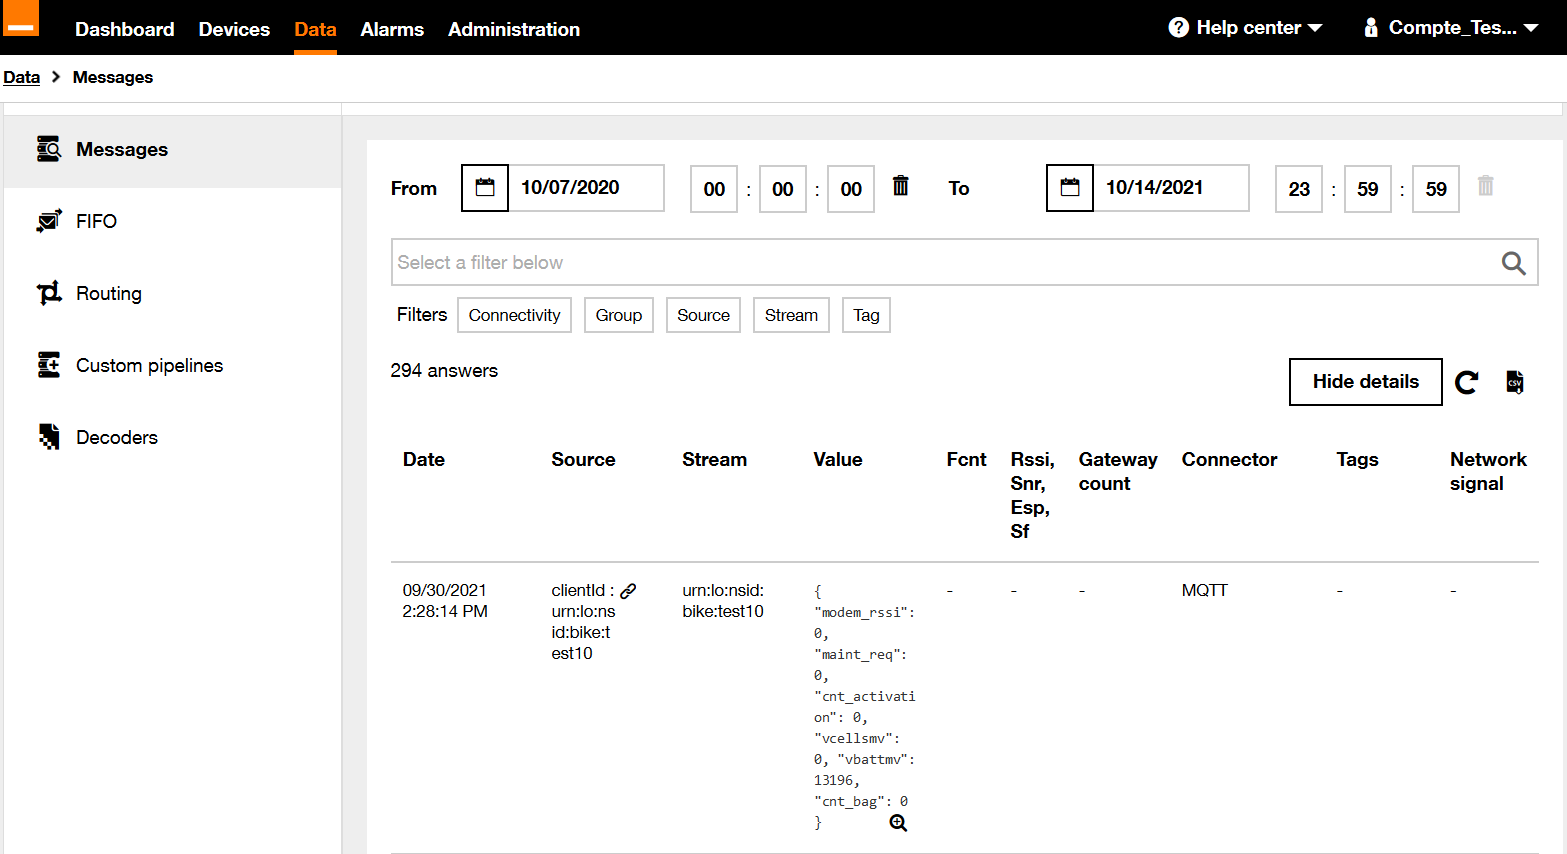
Going back to Live Objects portal, you can consult the data message that was just stored. Go to Data then search for stream "urn:lo:nsid:dongle:00-14-22-01-23-45!temperature". The data message sent will appear.
-
You can access data from the HTTPS interface.
-
You can perform complex search queries like aggregation using elasticsearch DSL HTTPS interface. See example in See example in Data API chapter
-
Through the MQTT interface, either your configured FIFO queue or your connected MQTT client will receive data messages.
Connect an application to collect your devices data
Using HTTPS to retrieve your devices' data
Data from you device can be retrieved using HTTPS API.
You will need an API key with the DATA_R role. You can create it as you did in the previous part.
The following endpoint enables you to retrieve data from a stream: https://liveobjects.orange-business.com/api/v0/data/streams/{streamId}
Example with a MQTT device:
GET /api/v0/data/streams/urn:lo:nsid:dongle:00-14-22-01-23-45!temperature
Host: https://liveobjects.orange-business.com
Header: X-API-KEY: <a valid API key with DATA_R role>
Example with a LoRa® device:
GET /api/v0/data/streams/urn:lo:nsid:lora:<DevEUI>
Host: https://liveobjects.orange-business.com
Header: X-API-KEY: <a valid API key with DATA_R role>
Using MQTTs to retrieve your device’s data
Data published by your devices can be consumed using the MQTT protocol.
You will need an API key with the BUS_R role. You can create it as you did in a previous part.
Then configure an action policy to route your device’s data to a FIFO queue named "myFifo". More information about routing in the section FIFO publish action.
Future messages sent by your device will be stored in the FIFO queue until an MQTT client subscribes to the queue.
The "application" mode purpose is to retrieve messages available in your FIFOs.
Available MQTT endpoints are described in the section Endpoints.
Beforehand, a connection must be established as follows :
-
clientId: ignored
-
username: application
-
password: a valid Live Objects API key with a BUS_R role
-
willRetain, willQoS, willFlag, willTopic, willMessage: ignored
Then a subscription to the following topic to consume data from your FIFO : "fifo/myFifo".
Connect a device without a supported protocols
If you have a fleet of devices that do not support traditional protocols or that are connected to a custom backend, you can use the external connector mode:
-
Connect your specific devices with this mode
-
The external connector which uses the MQTT protocol, allows for all your data to be collected in a single place.
-
Monitor your devices connectivity
-
Configure your devices from Live objects platform
-
Receive command from Live Objects platform
-
Update your devices resource and configuration